Organizing your Bing Places for Business account is an easy and effective way to help bring local search traffic for your business. However, it can be difficult to keep the various local search options organized when Google My Business, Yelp for Business, and Bing Places for Business each have different steps for setting up and managing an account. Follow the steps provided to learn how to get started, set up your account, claim and verify, and monitor your business.
Get Started:
The first thing you need to do is set up your Bing Places for Business account. Visit the Bing Places website, https://www.bingplaces.com/ and click on the ‘Get Started’ button. You will be directed to a screen to search for your business page by either entering the phone number or the name and location of the business.

Account Setup:
After entering your business information, you will be shown a screen stating “Showing results for (business name entered)”. If your business comes up in the search results, click on the ‘claim business’ button, if not, click ‘create new business’. After choosing an option you will be directed to a page to sign into your Bing Places for Business account.

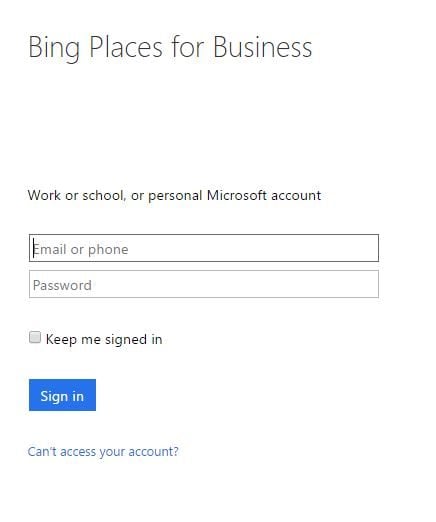
Sign into your Microsoft work, school, or personal account to continue the process. If you do not currently have a Microsoft account, follow the steps to create a free account.
Claim and Verify Your Business:
Once you have logged into your account, you can start managing your business. Fill out all the information about your business that you can provide: Name, Address, Website, Categories, Phone Number, Hours, and Photos.
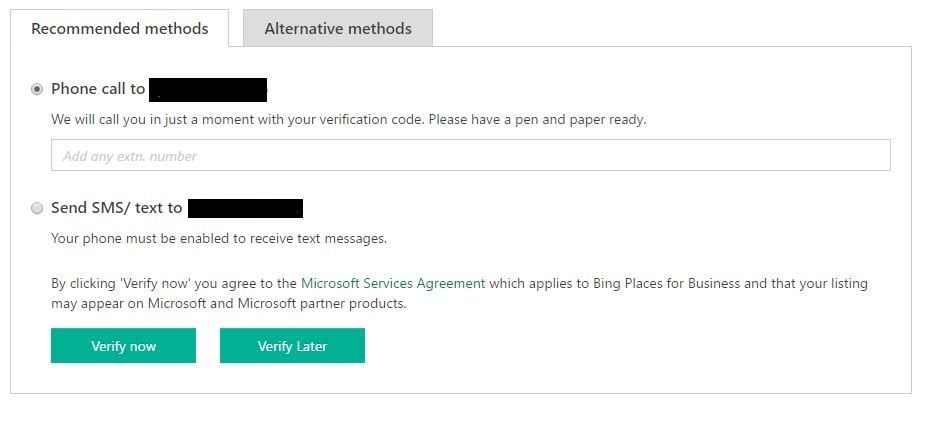
Once all information has been entered you will be prompted to verify your business. This can be done through one of two methods: phone or post. The phone verification with a call or text message is the recommended method to verify your business.

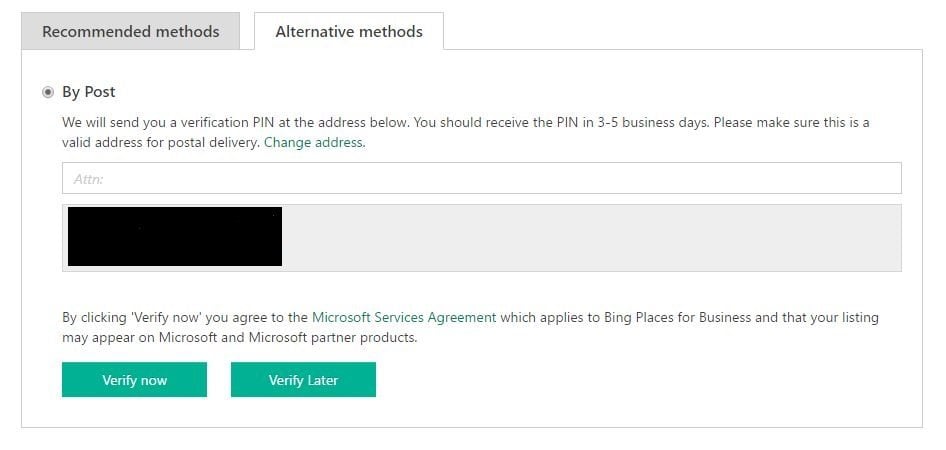
The alternative method is getting the PIN number sent via postcard to the business address provided in the listing.

Choose which method works best for your business. When choosing your method, take into consideration that the postcard option takes 3-5 business days to arrive while the phone verification will arrive the same day. If you decide to receive the PIN via postcard, enter the name of the recipient in the field provided. Remember to remind the employees at each of the locations to keep an eye out for the PIN.
Once you receive the PIN number via phone or post for each of your locations, verify the location by entering the PIN into the business listing. This will make the listing a published, verified business on Bing.
Monitoring your Business:
When you log in to your Bing places for Business account you should see all your business locations on the left with their current status. On the right, you should see a map pinpointing each of your locations.
Once each location is complete with the appropriate information, remember to manage the locations. Continually update any information as it changes and make sure to regularly monitor the listings for suggested edits from users.
For any additional questions, feel free to reference: https://www.bingplaces.com/Home/MoreFAQ#Introduction


