In the spirit of back to school, today’s blog post is the first lesson in a series giving a basic overview of the WordPress backend and its navigation. Today I’ll be giving a brief overview of the Dashboard, Posts, and Media sections and their functionality.
The Dashboard
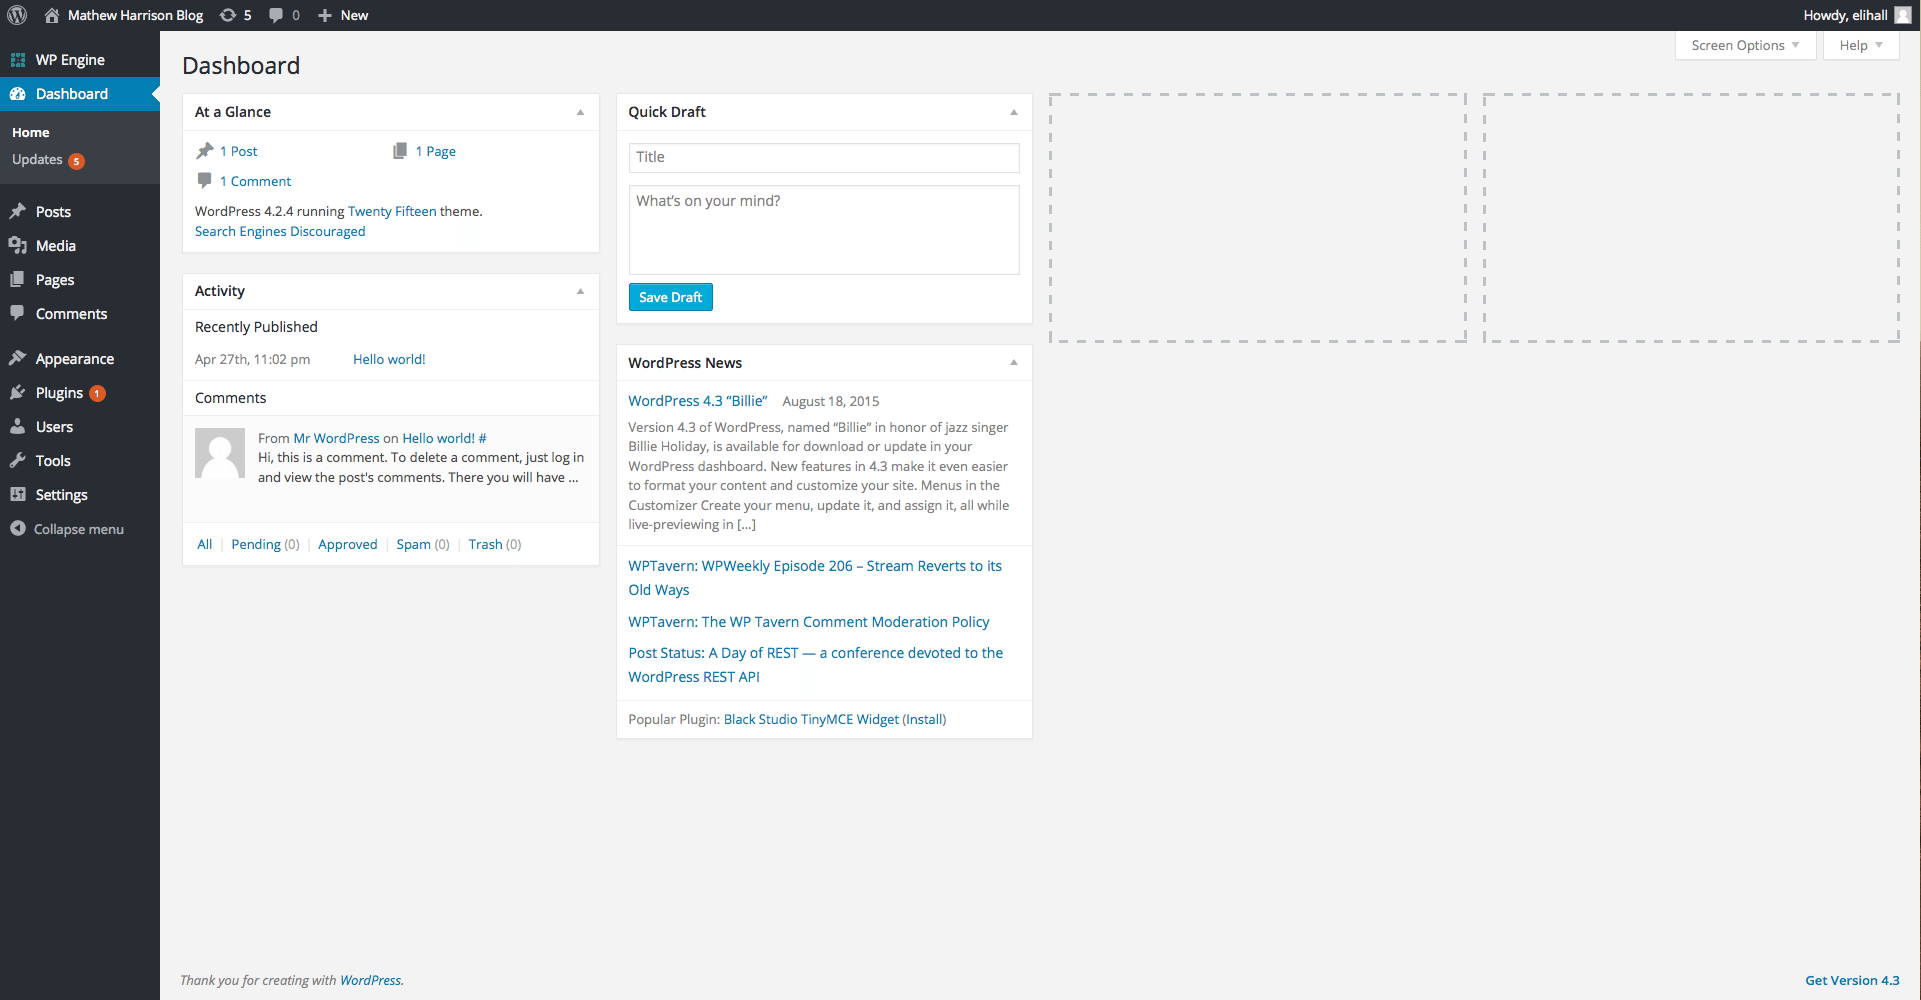
After logging into the admin area of your website by entering “yoursiteurl.com/wp-admin” in any browser’s search bar, you’ll be brought to the home screen of the “backend” of your site and more specifically the Dashboard.
The Dashboard serves as an overview of what’s happening on your site. Here you can see site statistics, edit/view page comments, create quick blog posts, and monitor site activity. There are also a few plugins that can add additional information to this section.
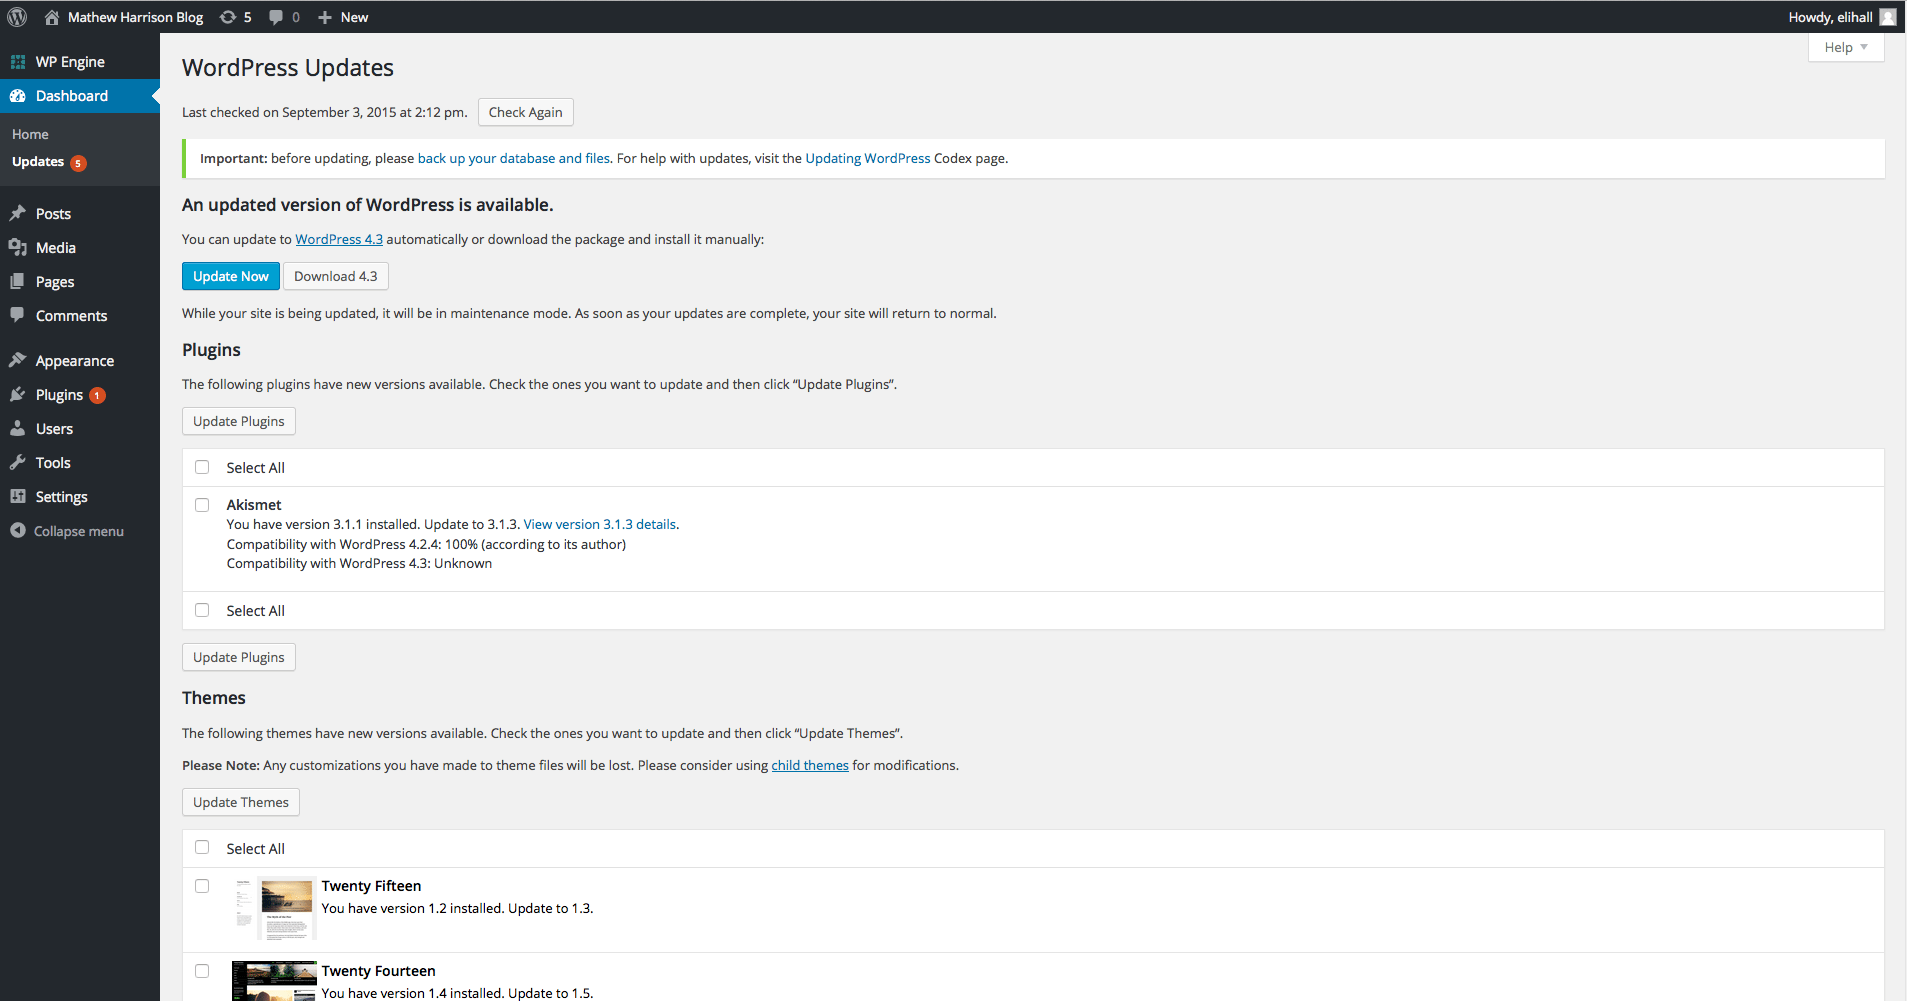
You may notice under the expanded Dashboard menu that there’s a link titled Updates. This section is where you’ll go to initiate updates to the various aspects of your website. These could be anything from updates to the theme your site runs, to your version of WordPress, or any of the plugins installed on your site.
This area should definitely be handled with care, as issues with updates have been known to cause inadvertent issues on sites and can even bring a site down all together. Here at Hall, we handle all of the updates for clients whom we host, and we always back up the site immediately beforehand.
Posts
Clicking on the Posts link will bring you to a list of all your site’s posts. Here you can select multiple posts for a bulk edit, see general information about each post such as authors or Meta tags, search for an individual post by name.
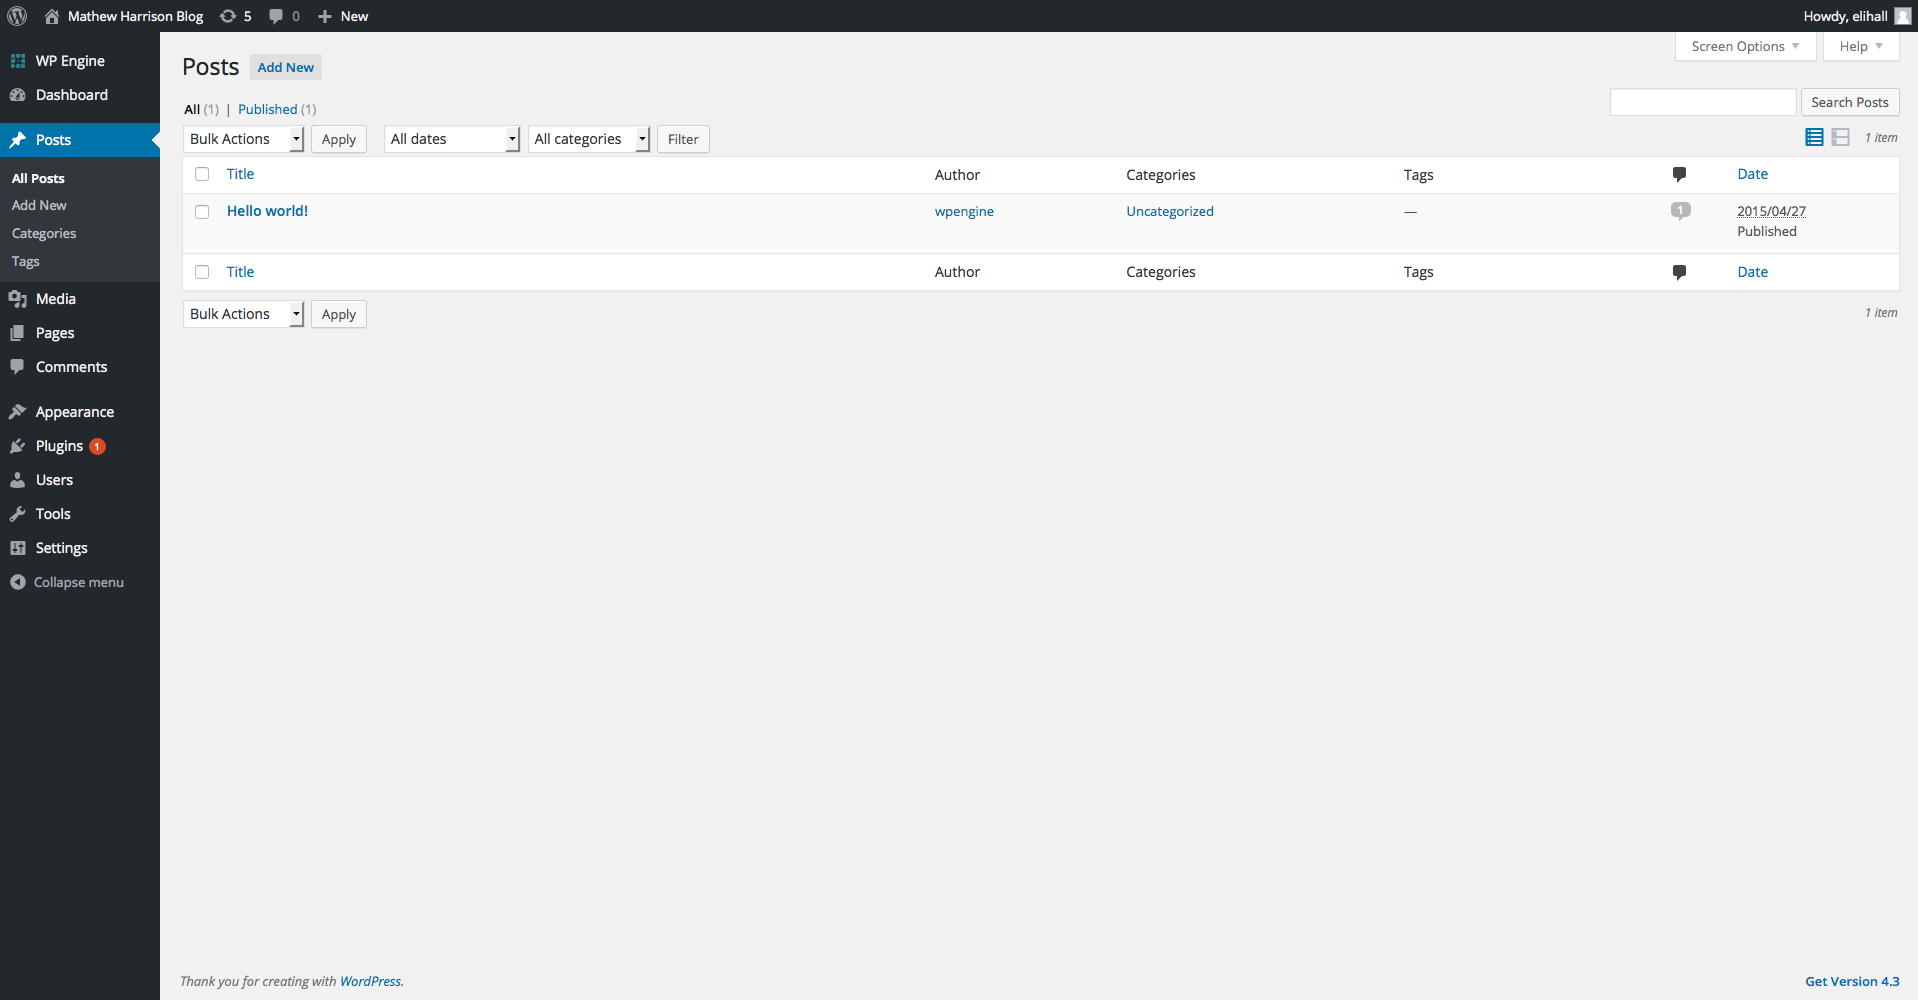
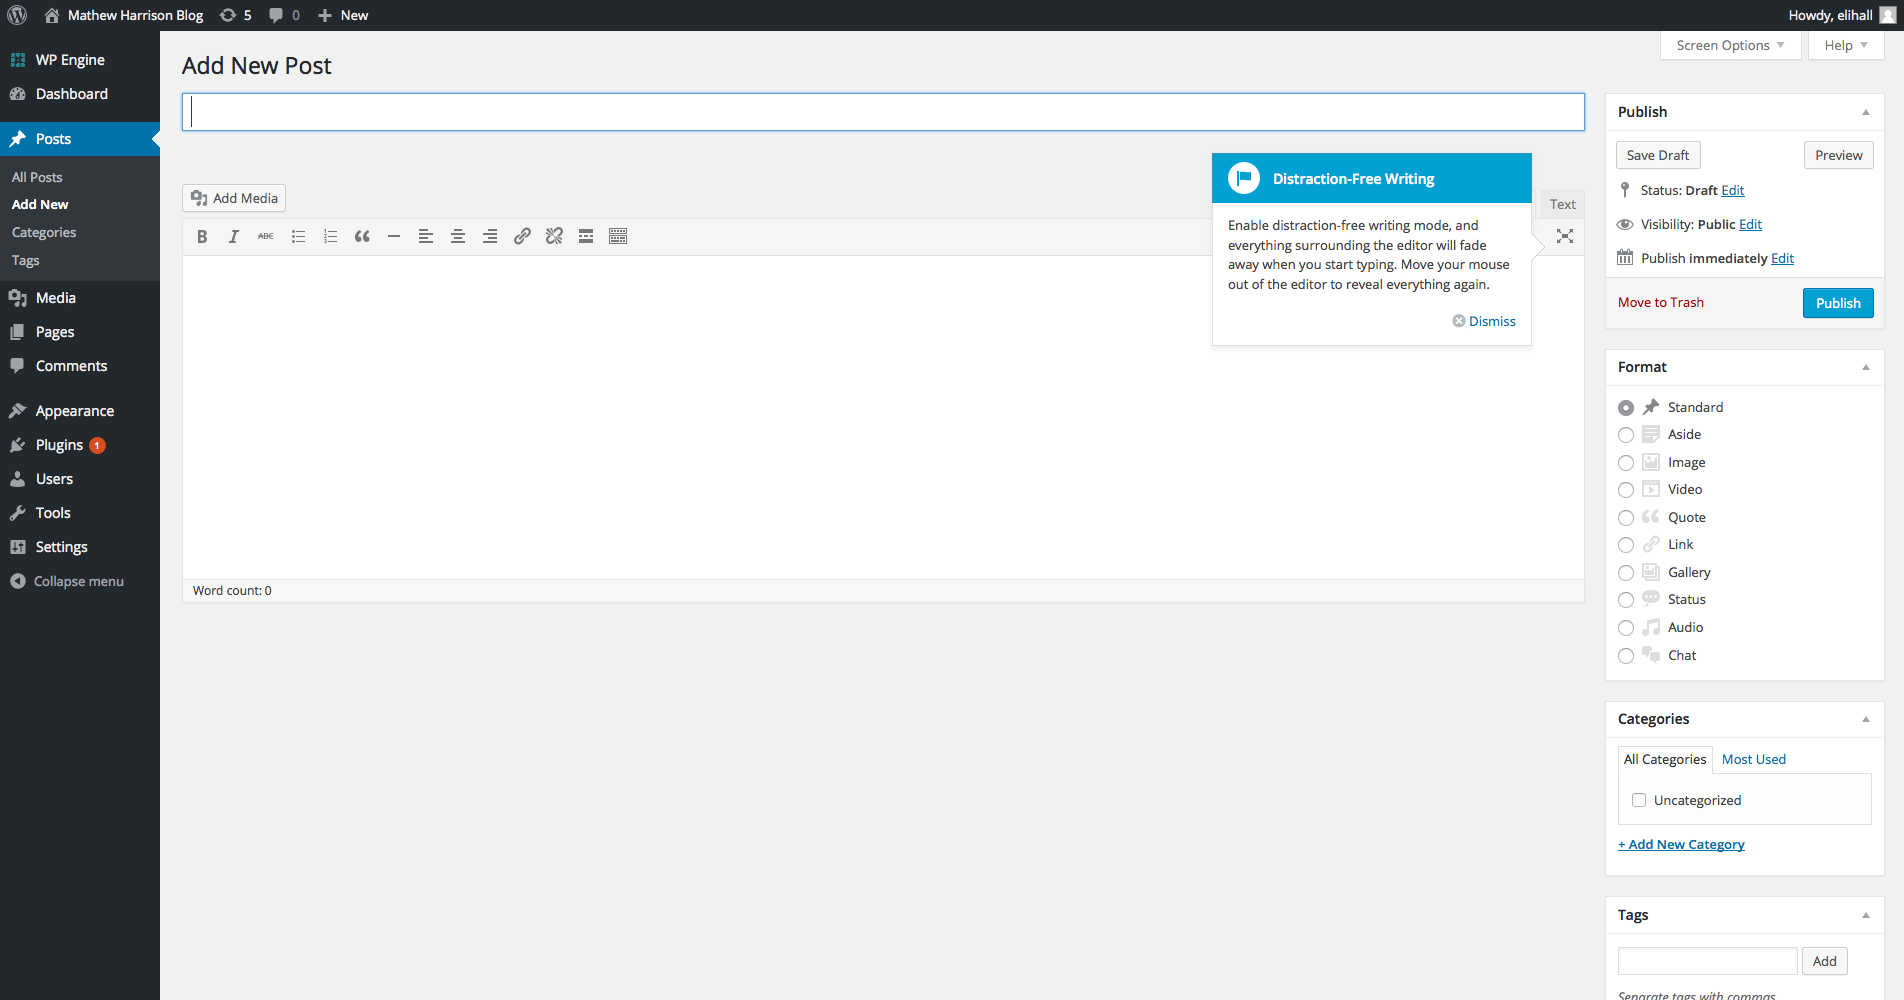
If you’ve already clicked on Posts, you’ll notice an Add New button at the top left as well as a link in the admin menu on the left. This button does exactly what it says and allows you to create new posts to add to your site.
If you’re not sure about the difference between Posts and Pages take a look at our blog on the subject here.
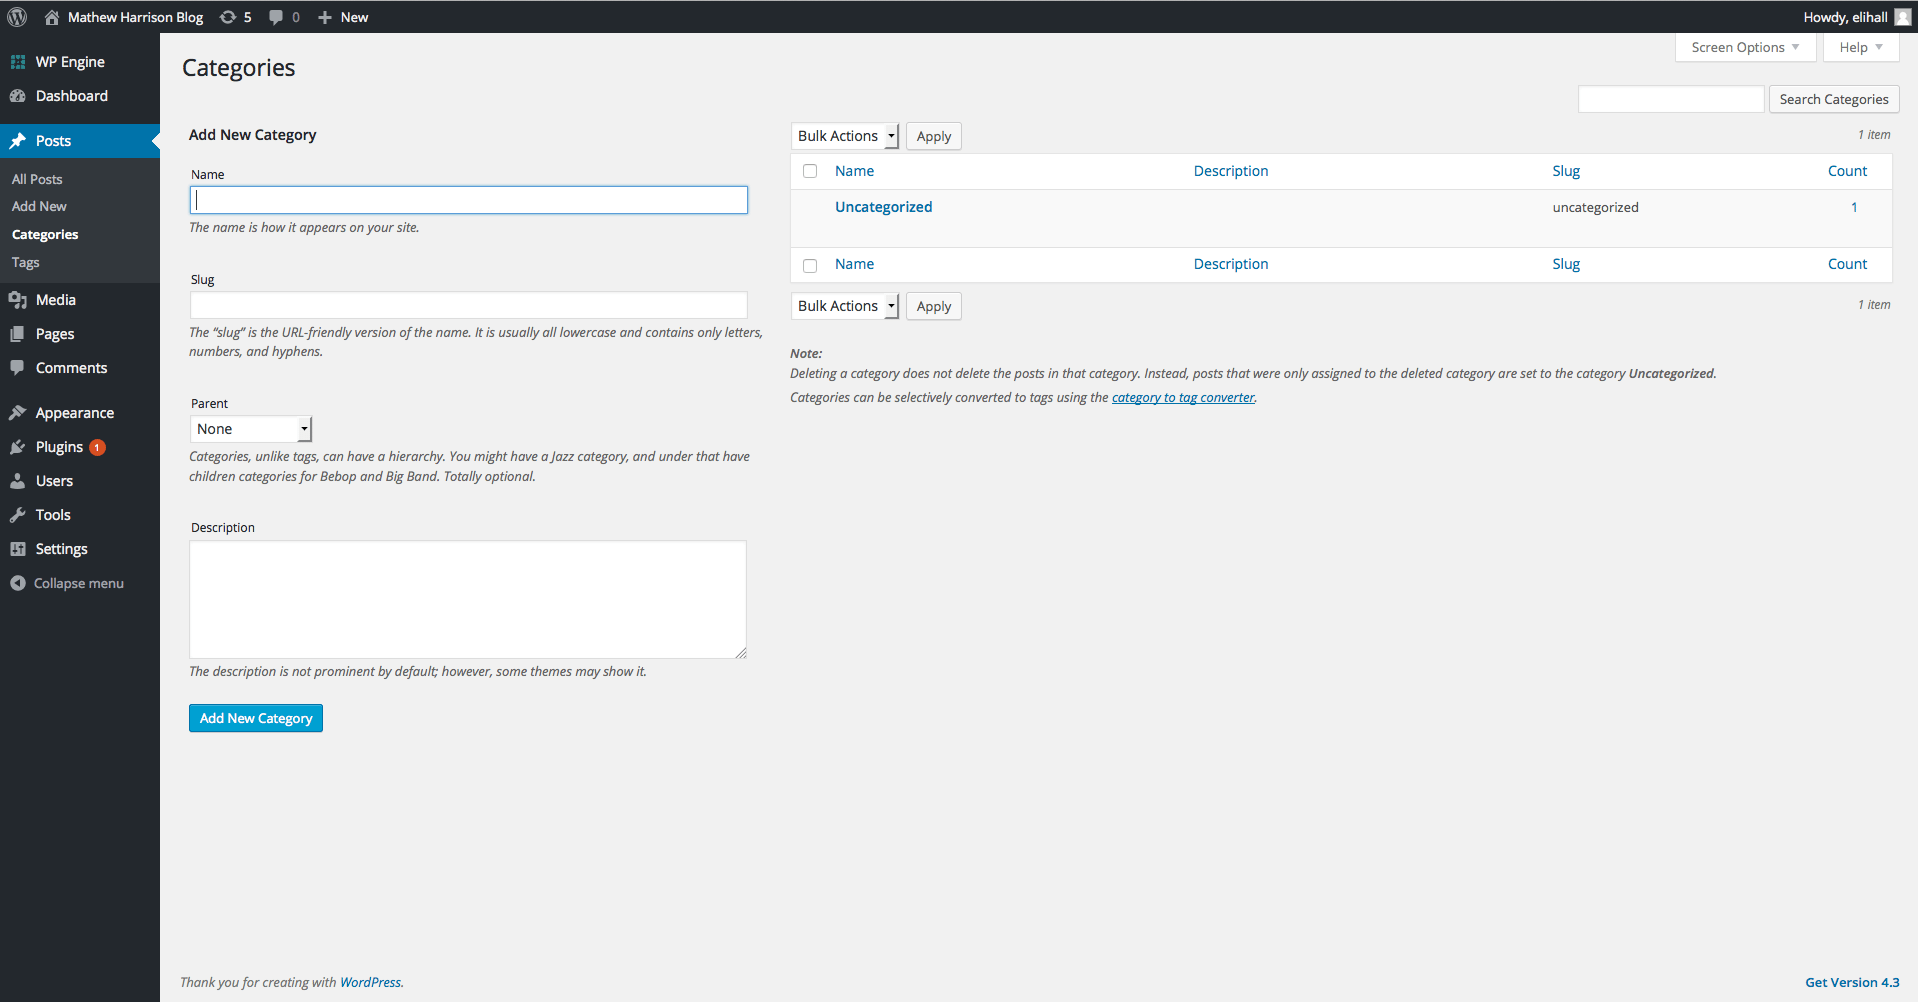
Moving down the admin menu, Categories is next in line. This area allows you to create post categories which gives you the ability to sort your posts into sections. This can be useful if you’re blog for instance often touches upon a few common topics or if you want certain post types to display in different places on your website.
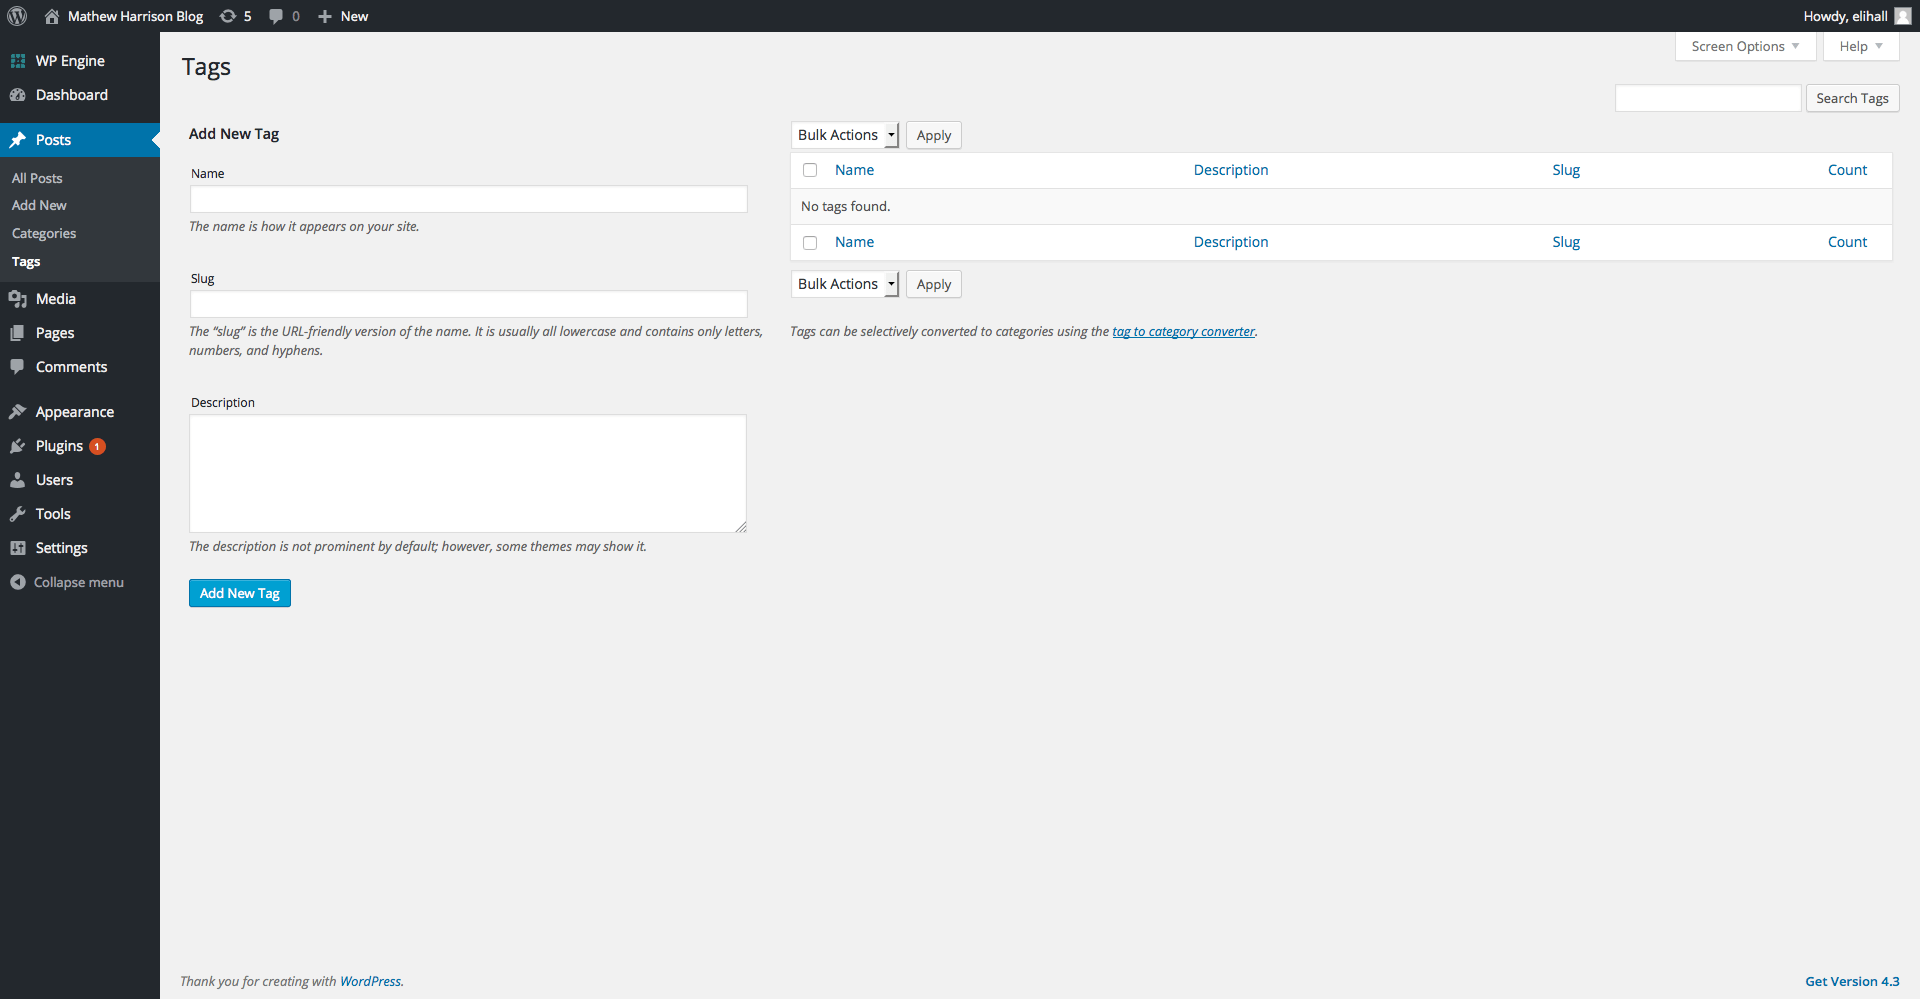
Last in the post options is Tags. Tags allow authors to add keywords to their posts. This makes posts relational to one another and can help users find posts about a certain keyword or topic. An example that I find highlights the difference between tags and categories well would be for a site that lists recipes. Categories might be breakfast, lunch and dinner, the primary means of sorting content. Tags could be ingredients that users may be interested in searching such as chicken or lobster.
Media
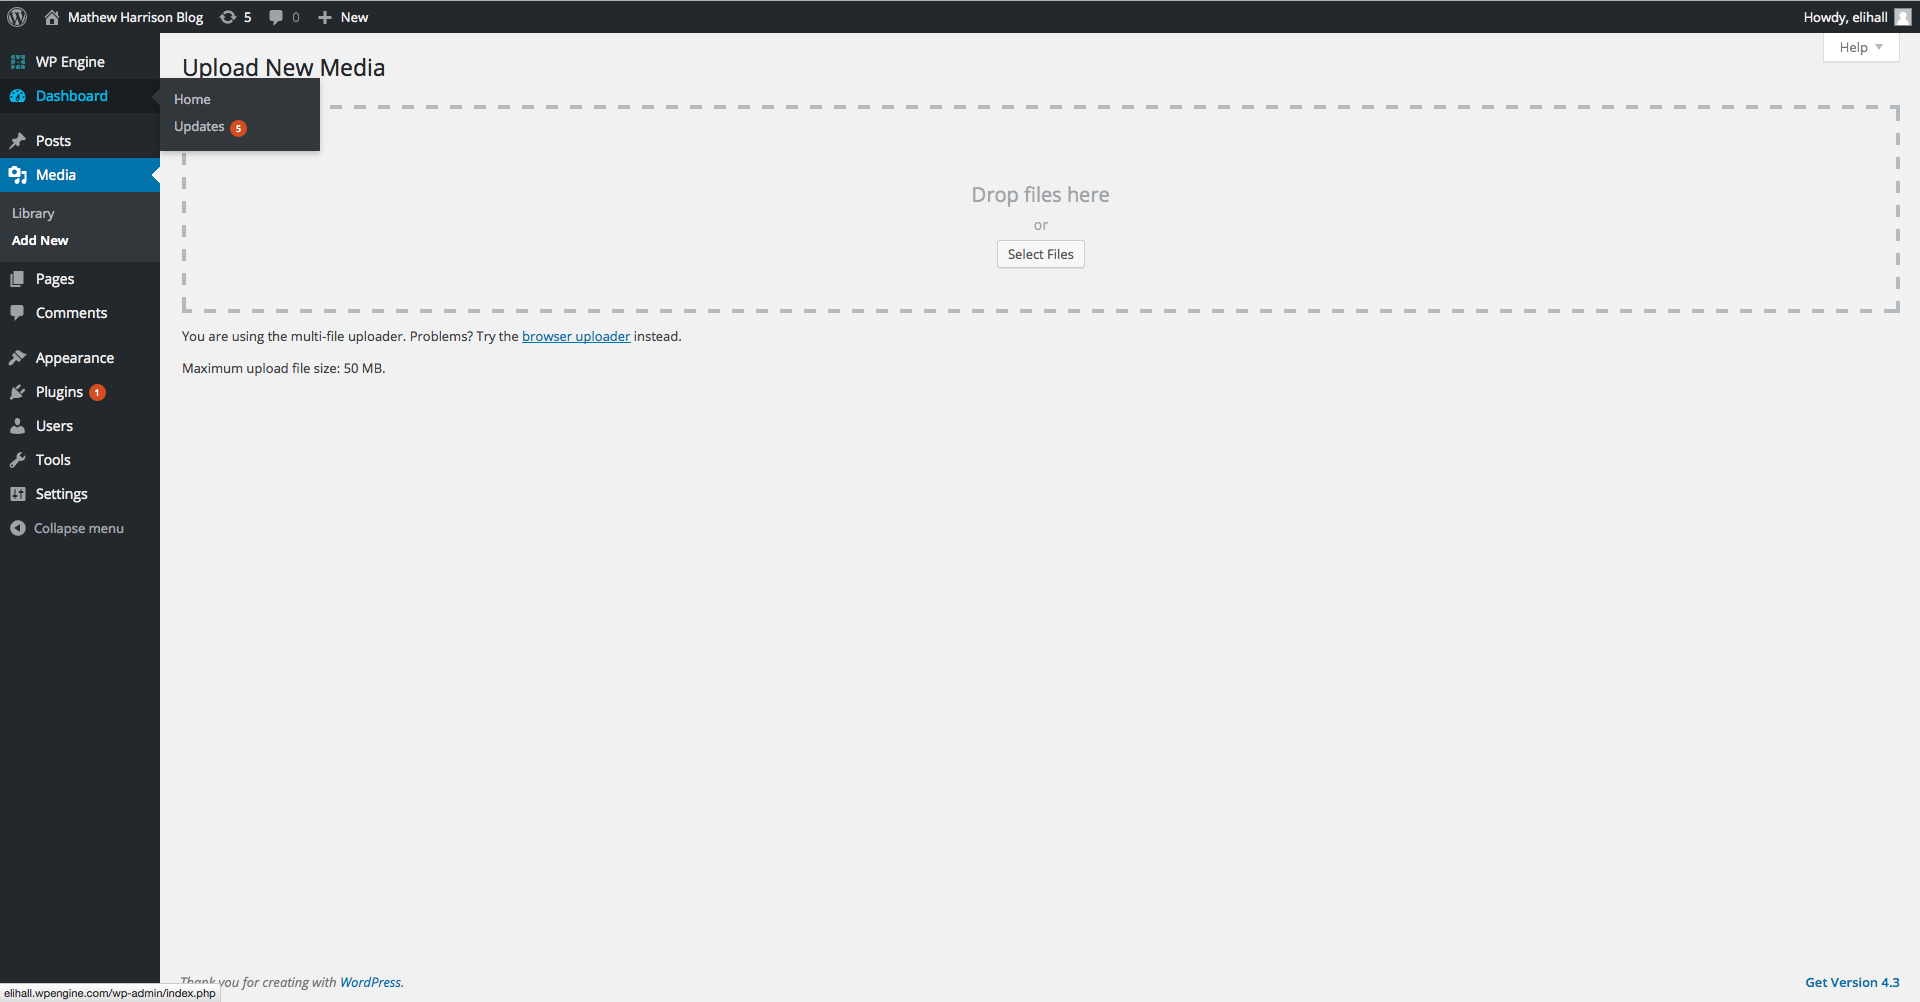
When you click on the Media tab you’ll be brought to the Media Library. This is where all of the media (pictures, pdfs, and videos) that you have ever uploaded to your site are stored.
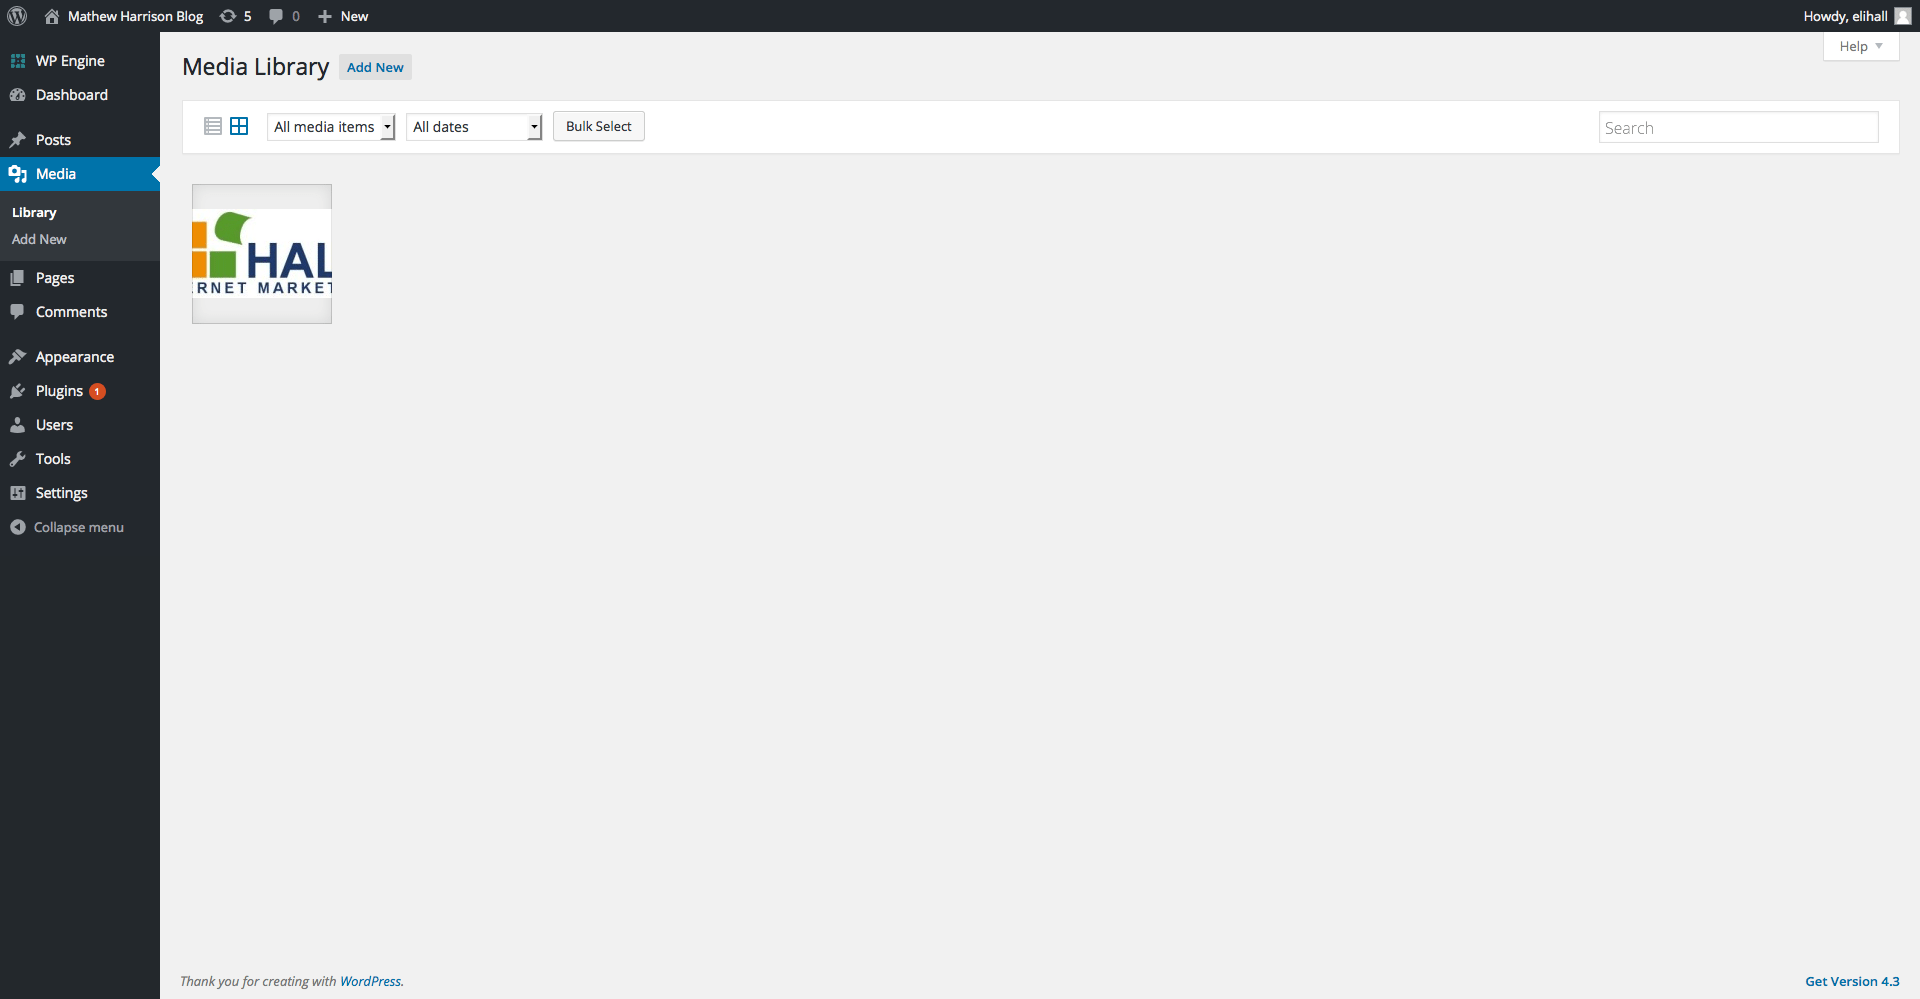
Clicking on the Add New section allows you to upload new content that you can place later into pages or posts.
And that’s all for lesson one. Again this was just a brief overview of what is going on with a few tabs in the admin menu. Hopefully it gave you a basic understanding of what’s going on behind the scenes on your WordPress site. If you still want to learn more before next class the recommended reading can be found on our blog and at: https://codex.wordpress.org/Main_Page. Class dismissed!