The WordPress WYSIWYG editor resembles most text editors but differs in its capabilities; some for the better, some for the worse. It does have some quirks that you need to be aware of and some cool tricks that aren’t readily available or intuitive. Here is a list of ten tips to get you started. All buttons can be identified by hovering over them to reveal the names.
1. Show/Hide Kitchen Sink
The WYSIWYG toolbar will show one or two rows of buttons depending on whether or not you are showing or hiding the “kitchen sink”.
Keyboard Shortcut: (Alt + Shift + Z)

2. Read More
If your blog archive page is currently set to display the full post, it can be a bit cumbersome to scan through and not very user friendly. The “Read More” button, however, will allow you to set a break point at any spot in the post. This will add a link to read the entirety of the post after the desired break point, acting as a sort of teaser.
Keyboard Shortcut: (Alt + Shift + T)

Another way to accomplish this same effect is through the “Excerpt” metabox found below the WYSIWYG editor. Different from the “Read More” button, this will allow customized text, separate from the post. If the “Excerpt” metabox is not visible it can be made available by checking the excerpt box under “Screen Options” at the top of the page.
3. Next Page
If your blog post is very long, you may consider paginating it by utilizing the built-in “Next Page” functionality. There is currently no button in the editor to display this. You must type the code shown below into the “Text” tab only and on its own line.

4. Embeds
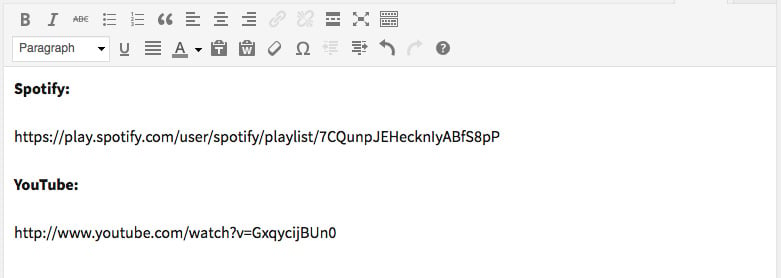
WordPress provides the ability to custom embed content from a number of social media websites like a YouTube video, a Spotify playlist or a Tweet, among others. Copy and paste the url of the video, tweet, etc., into the WYWIWYG editor on a line by itself.
5. Paste as Plain Text or Paste from Word
If you decide to write a blog post in another application, it is a good idea to utilize the “Paste as Plain Text” or “Paste from Word” button to remove weird characters and formatting. If you paste text from a website or other document, it can sometimes look like the image below. It may invalidate your code or override the default theme styling.

6.
If you are making a lot of corrections, “ ” can run rampant. They are only visually represented in the “Text” tab of the WYSIWYG editor. Each one is a line break, and if they pile up, it can create huge spaces between content that will look unprofessional. It is a good idea to check the “Text” tab and remove these as needed.
7. Learn Basic HTML
While the essence of the WYSIWYG editor allows for users of all skill levels to create content without needing to know HTML, it is, however, recommended that one have a basic understanding to trouble shoot content that isn’t displaying correctly. The W3Schools website is a good place to start. All HTML or “tags” have an open “<” and close “>”. Missing closing tags is likely the biggest reason for display issues. The HTML is visible in the “Text” tab of the WYSIWYG editor.
8. Adding Images
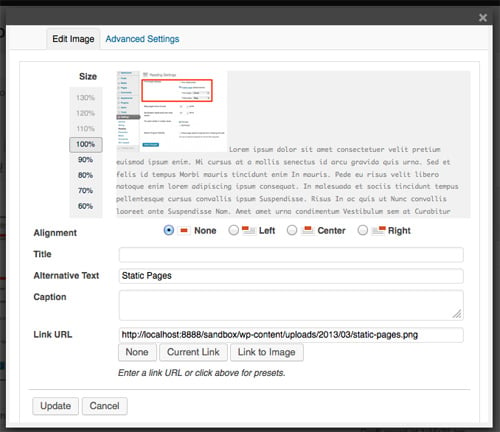
Images are added from the “Add Media” button above the WYSIWYG editor. Once the image is selected, there are a number of settings: size, alignment, link to, title, caption, description, and alt text. Once the image is added to the post, these settings may be updated by clicking the image and two buttons will be overlayed on the image to either edit or delete. To align the image left or right of a paragraph, set the cursor at the beginning of the paragraph and then add the image.
9. Distraction Free Writing
This button will hide everything but the WYSIWYG editor and post title.
Keyboard Shortcut: (Alt + Shift + W)
10. Preview
It is always highly recommended to proofread the content of a blog post before hitting publish, but it’s also just as important to preview the layout of the post as things may appear differently within the editor. The Preview button is under the “Publish” metabox.

